centos7.4 安装lnmp
最近购买了两天云服务器,所以环境需要重新配置下。采用php7.2+nginx+mysql5.7 .
安装步骤:
yum的安装
yum安装nginx
安装nginx最新源
安装nginx
启动nginx
设置nginx服务器开机自启动
检查开机自动是否设置成功
浏览器中输入公网ip,检测是否安装成功
使用yum安装mysql5.7
安装mysql源
安装mysql
启动mysql
检查mysql启动是否正常
设置mysqld服务开机自启动
检查mysqld开机自启动是否设置成功
mysql5.7以后的争强了安全机制, 所以使用yum安装,启动会系统会自动生成一个随机的密码,修改mysql密码
查看mysql的随机密码
使用查询得到的随机密码在终端登录
退出mysql客户端,用刚才修改的密码登录确保密码修改成功
安装php7.2
安装php源
检查源是否安装成功
安装php扩展源
验证php7.2.x和扩展是否安装成功
验证php是否安装成功
验证对应的扩展是否安装成功
设置php-fpm并检测php-fpm的运行状态
启动php-fpm
检查启动是否成功
设置开机自启动
检查开机自启动是否设置成功
注意:到此步,nginx只是一个web服务器,但是还没能处理php的文件,所以要对nginx进行配置。
我安装的nginx是最新的版本,所以配置文件在/etc/nginx/nginx.conf 但是没有必要修改这里面的配置,如果你要修改成负载均衡的配置,建议直接上网找,
我们不讨论这些,我需要让我本机支持php的解析
第一步配置nginx:
vim /etc/nginx/conf.d/default.conf
复制内容:
server {
listen 80;
server_name #; #这里填你的ip或者访问域名
root /usr/share/nginx/html;
index index.html index.htm index.php;
error_page 404 /404.html;
location = /404.html {
return 404 'Sorry, File not Found!';
}
error_page 500 502 503 504 /50x.html;
location = /50x.html {
root /usr/share/nginx/html; # windows用户替换这个目录
}
location / {
try_files $uri @rewrite;
}
location @rewrite {
set $static 0;
if ($uri ~ \.(css|js|jpg|jpeg|png|gif|ico|woff|eot|svg|css\.map|min\.map)$) {
set $static 1;
}
if ($static = 0) {
rewrite ^/(.*)$ /index.php?s=/$1;
}
}
location ~ /Uploads/.*\.php$ {
deny all;
}
location ~ \.php/ {
if ($request_uri ~ ^(.+\.php)(/.+?)($|\?)) { }
fastcgi_pass 127.0.0.1:9000;
include fastcgi_params;
fastcgi_param SCRIPT_NAME $1;
fastcgi_param PATH_INFO $2;
fastcgi_param SCRIPT_FILENAME $document_root$1;
}
location ~ \.php$ {
fastcgi_pass 127.0.0.1:9000;
fastcgi_param SCRIPT_FILENAME $document_root$fastcgi_script_name;
include fastcgi_params;
}
location ~ /\.ht {
deny all;
}
}
也可以参照该网站的nginx配置:nginx的配置
 ,踩坑了,我不打算开启这个pathinfo,所以用thinkphp的时候,采用兼容url访问的时候出错了。找到了一篇文章能解决这个问题的。解决thinkphp5路由访问的问题
第二步配置PHP处理器(该步可以不做):
理由:关闭此项是为了防止漏洞,但是可能会导致php一些全局变量失效,如果开启会有漏洞,那就是图片能携带执行php的代码上传。具体操作自行百度。
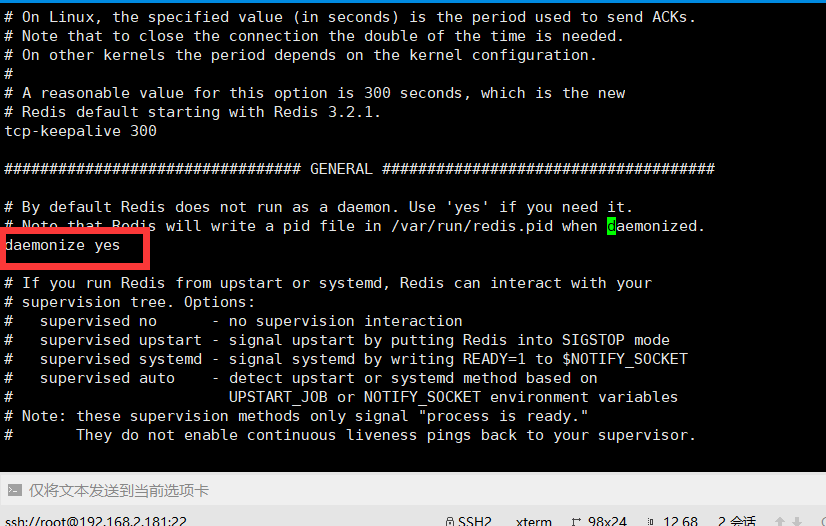
vim /etc/php.ini
查找cgi.fix_pathinfo
将 ;cgi.fix_pathinfo=1改为cgi.fix_pathinfo=0
修改完成,重启nginx,命令:systemctl restart nginx.service
以上第二步找到了三种方法来解决该问题(复制网上的方法):
方法一:修改php.ini,设置cgi.fix_pathinfo = 0;然后重启php-cgi。此修改会影响到使用PATH_INFO伪静态的应用,例如:http://xiumu.blog.51cto.com/520.html 就不能访问了。
方法二:在nginx的配置文件添加如下内容后重启:if ( $fastcgi_script_name ~ \..*\/.*php ) {return 403;}。该匹配会影响类似 http://xiumu.blog.51cto.com/5.0/helloworld.php的访问。
方法三:
----------代码源自网络----------
if ($request_filename ~* (.*)\.php) {
set $php_url $1;
}
if (!-e $php_url.php) {
return 403;
}
fastcgi_param GATEWAY_INTERFACE CGI/1.1;
fastcgi_param SERVER_SOFTWARE nginx;
fastcgi_param QUERY_STRING $query_string;
fastcgi_param REQUEST_METHOD $request_method;
fastcgi_param CONTENT_TYPE $content_type;
fastcgi_param CONTENT_LENGTH $content_length;
fastcgi_param SCRIPT_FILENAME $document_root$fastcgi_script_name;
fastcgi_param SCRIPT_NAME $uri;
fastcgi_param REQUEST_URI $request_uri;
fastcgi_param DOCUMENT_URI $document_uri;
fastcgi_param DOCUMENT_ROOT $document_root;
fastcgi_param SERVER_PROTOCOL $server_protocol;
fastcgi_param REMOTE_ADDR $remote_addr;
fastcgi_param REMOTE_PORT $remote_port;
fastcgi_param SERVER_ADDR $server_addr;
fastcgi_param SERVER_PORT $server_port;
fastcgi_param SERVER_NAME $server_name;
# PHP only, required if PHP was built with --enable-force-cgi-redirect
fastcgi_param REDIRECT_STATUS 200;
----------结束----------
新建一个名为:fastcgi.conf,将以上内容保存进去,同时在localtion里面做如下设置:
----------代码源自网络----------
location ~* .*\.php($|/)
{
if ($request_filename ~* (.*)\.php) {
set $php_url $1; #请根据实际情况设置
}
if (!-e $php_url.php) {
return 403;
}
fastcgi_pass 127.0.0.1:9000;
fastcgi_index index.php;
include fcgi.conf;
}
----------结束----------
测试:
vim /usr/share/nginx/html/test.php
输入:
<?php
phpinfo();
?>
保存: !wq
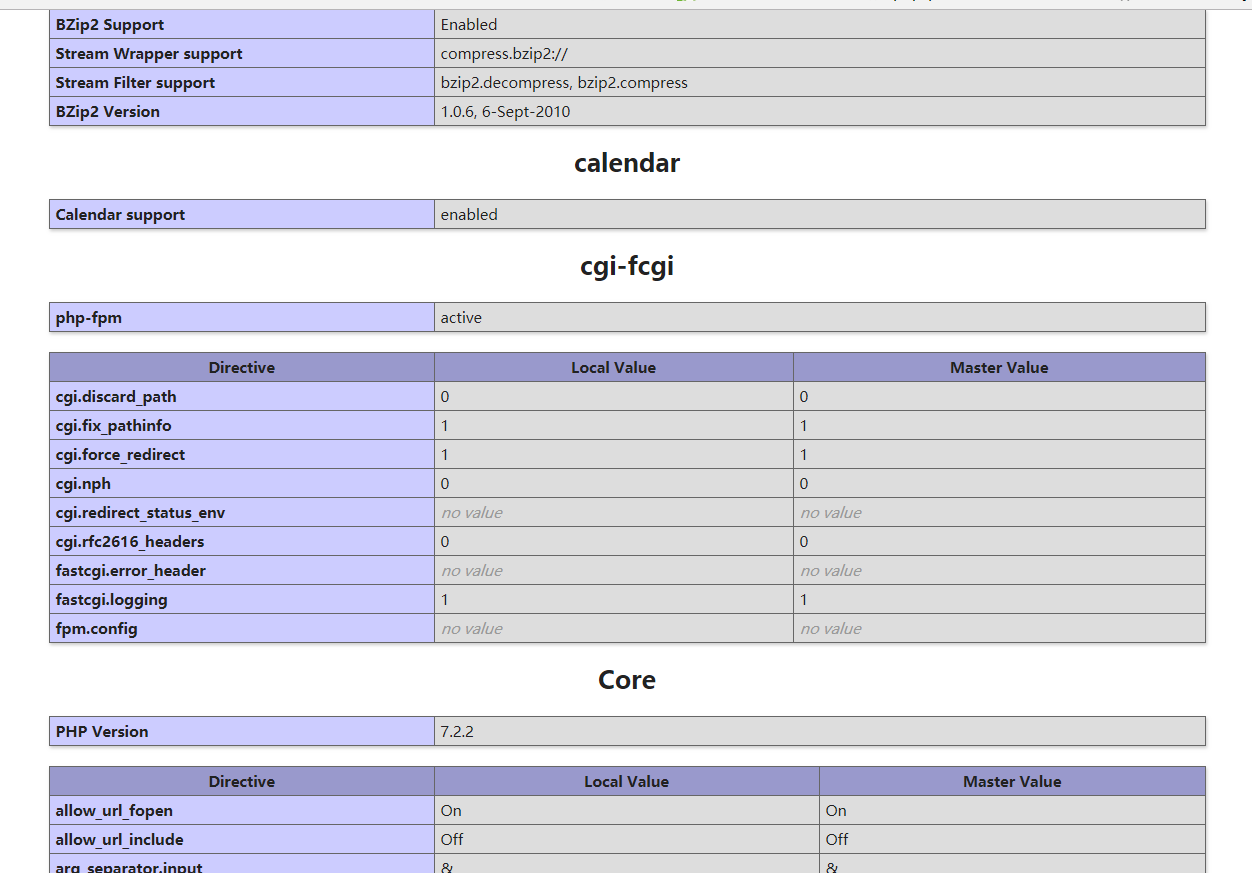
打开浏览器输入 xxx/test.php
以上是参考该文章,只做了一些小修改。lnmp安装